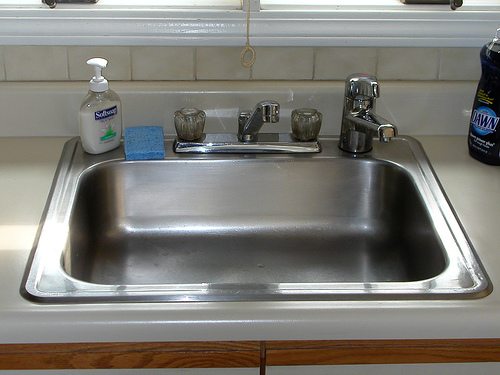
Everything is set and ready to go in your new kitchen in your Sydney home. Everything that is, except the kitchen sink. To save yourself the cost and time of calling out your local plumbing services, why not follow this guide to learn how to install your own kitchen sink?
Before you start getting down to the nitty-gritty of installing your kitchen sink, you want to make sure that your kitchen sink will actually fit in the hole provided for it. Get measuring, and if the sink is too big for the hole, you’ll need to cut away parts of your bench top till it’s big enough for your sink to slip in snuggly.
To make sure your sink fits in nice and tight, you’ll need to use a sealant. When you’re applying your sealant to the edges of the hole, remember to use as small a bead as possible, to save you hassle later on when it’s time to clean up, and you’ll also have a much neater finished product. To make sure your sink stays in place, use the clamps provided with your sink to attach the sink to the bench underside. Then all you need to do is connect up your pipes.
If you’re replacing a kitchen sink, remember to disconnect the water and waste from the sink before you start messing around with the sink. When it comes to removing the actual sink, it will be connected to your benchtop by small clamps underneath, which can be undone with a screwdriver. Then you can just pull it out, and follow the instructions for fitting a new sink above.
There really should be no reason for you to have to call out a plumber to help you install your new kitchen sink if you’ve got a basic bit of handyman know-how. All you need to know is how to measure, how to screw and unscrew parts, how to cut away parts of your benchtop precisely, and how to use a sealant. Fitting a kitchen sink shouldn’t be a DIY disaster, but should be an easy job that fills you with a sense of pride and achievement.


